Microsoft 365 nonprofit scheduling automation (intake + waitlists)
Microsoft 365 nonprofit scheduling automation: connect intake, eligibility review, self-scheduling, waitlists, SMS reminders, and RBAC on one Microsoft stack.
If your nonprofit already runs on Microsoft 365, the fastest path to Microsoft 365 nonprofit scheduling automation is to use Microsoft-first building blocks (Forms, Bookings, SharePoint/OneDrive, Power Automate, and optionally Power Apps/Dataverse). That gives clinic intake and scheduling one system, and lets you automate eligibility review, capacity limits, waitlists, reminders, and role-based access without adding another standalone platform.
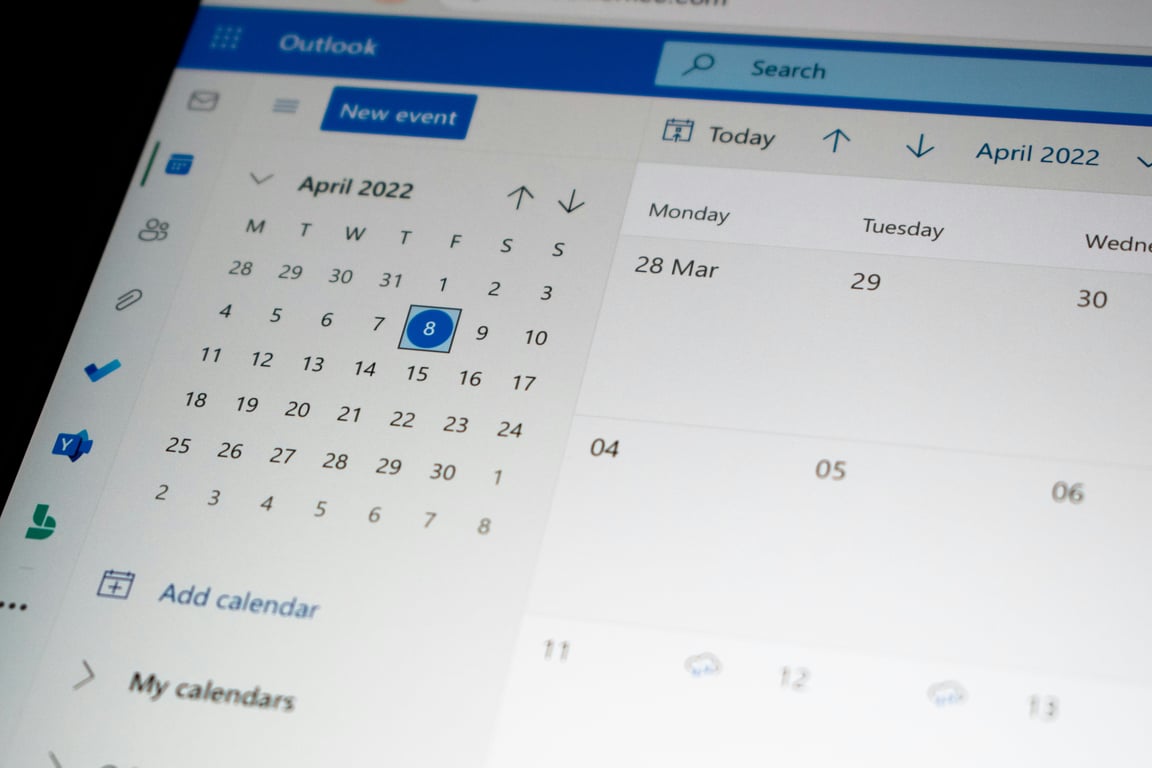
Microsoft 365 nonprofit scheduling automation starts in the Outlook calendar. Photo by Ed Hardie on Unsplash
What you’re automating (the nonprofit clinic workflow, simplified)
Most legal-aid and pro-bono programs are trying to connect four moving parts:
Intake
A client submits an application (and uploads documents).
Staff reviews eligibility and approves or declines.
Scheduling
Approved clients book into available slots.
Capacity rules (per clinic, per volunteer, per day) are enforced automatically.
Waitlists + cancellations
If a slot opens, the right people are notified and the next client can be slotted in.
Follow-up + outcomes
Automatic confirmations, reminders, and post-appointment follow-ups.
Lightweight outcomes tracking for reporting.
The Microsoft 365 nonprofit scheduling automation architecture
A practical Microsoft-first stack usually looks like this:
1) Intake form (Microsoft Forms) + safe document uploads (SharePoint)
Use Microsoft Forms to collect structured intake fields.
time-limited retention policies (if you have strict retention requirements)
permissions that restrict volunteer access to “only assigned clients”
Why this works: Forms captures the data cleanly, and SharePoint handles files and permissions better than trying to push documents through email.
2) Approval step + status tracking (SharePoint list or Dataverse)
You need one place that represents “the case record” and its current state:
Budget-friendly option: SharePoint List as your intake tracker (good enough for many teams).
Stronger option: Dataverse (via Power Apps) when you need stronger security models, complex relationships, or easier app-building.
A simple state model is enough to start:
New intake → Needs review → Approved or Declined → Scheduled → Completed → Follow-up sent
3) Scheduling (Microsoft Bookings) with capacity controls
Use Microsoft Bookings when the requirement is “let approved clients self-schedule into real calendars”:
create services by clinic type (virtual consult, walk-in clinic, etc.)
define staff/volunteers as bookable resources
set buffer time, maximum attendees per event, and appointment lengths (Bookings service settings as of October 2026; check Microsoft's docs for current options)
keep calendars synced so you don’t double-book
If you need “approval before booking,” use an automation gate (next section) so only approved clients receive a scheduling link.
4) The automation backbone (Power Automate)
Power Automate is where Microsoft 365 becomes a single system:
When a Form is submitted → create/update the case record and store attachments in SharePoint
When staff sets Status = Approved → send an email/SMS with the Bookings link
When an appointment is booked/canceled → update status, notify staff, and manage waitlist logic
When appointment time is approaching → send reminders
When appointment is completed → trigger follow-up emails and lightweight outcome tracking
This is also where you can enforce “30-day document retention” patterns (for example: scheduled deletion/removal of access) depending on your org’s policy.
5) SMS reminders (Twilio or Azure Communication Services)
Most nonprofits want SMS because it reduces no-shows, especially when clients don’t reliably check email.
Two common options:
Twilio for SMS workflows when you want flexibility and proven deliverability tooling.
Azure Communication Services when you want to keep more of the stack inside Azure (and consolidate vendor billing).
Either way, SMS should be an automation step that references the same case record and appointment record, not a separate messaging “mini-system.”
6) Role-based access control (RBAC) you can actually maintain
A typical clinic program has at least four access tiers:
Program admin (network-level)
Nonprofit admin (their org only)
Staff/managers (create clinics, approve intakes)
Volunteers (assigned-client only)
To keep RBAC maintainable:
avoid “shared inbox” style workflows as the system of record
restrict files via SharePoint permissions (or Dataverse security roles)
keep the case record in a table/list where permissions can be applied by role
design so you can add new roles by configuration, not code changes
A step-by-step build plan (what to do first, second, third)
Phase 1: Replace email + spreadsheets with one intake tracker (1–2 weeks)
Move the “case record” from SharePoint list to Dataverse if security/complexity requires it
Add dashboards and reporting outputs (Power BI)
Common pitfalls (and how to avoid them)
Pitfall: building scheduling before you have approvals. Fix: approval status must gate scheduling links.
Pitfall: storing documents in email. Fix: store documents in SharePoint and link to them.
Pitfall: “manual capacity math.” Fix: capacity should be a rule that lives in the scheduling layer and/or case record, enforced by automation.
Pitfall: brittle permissions. Fix: RBAC should be role-driven, not one-off sharing.
When to use Power Apps (and when not to)
Use Power Apps when:
you need a staff-facing “case console”
you need more complex permissions than a SharePoint list can handle cleanly
you want a guided workflow for non-technical staff
Skip Power Apps (for now) when:
your main problem is simply connecting intake → scheduling → reminders
your team wants to move fast with minimal admin overhead
Get help building your Microsoft 365 scheduling system
If you're designing a Microsoft 365-first intake and scheduling system for a nonprofit (capacity, waitlists, document handling, SMS, and RBAC), a quick architecture review usually saves weeks of trial and error. Connex builds these Power Automate, Bookings, and SharePoint workflows for small teams. Book a free discovery call and we'll map your intake-to-follow-up flow with you.
Automate monthly Salesforce exports from S3 + Google Sheets: pull daily files from S3, calculate member status in Sheets, and generate a weekly CSV in Drive.