Lot-number traceability in Airtable for medical devices
Build audit-ready lot number traceability in Airtable for medical devices: deduct inventory by lot, block double-withdrawals, and create QR audit trails.
If you need lot-number traceability for a regulated medical device product, Airtable can work, if you design your base around lot-first inventory and use a controlled “build” action that writes a complete audit trail.
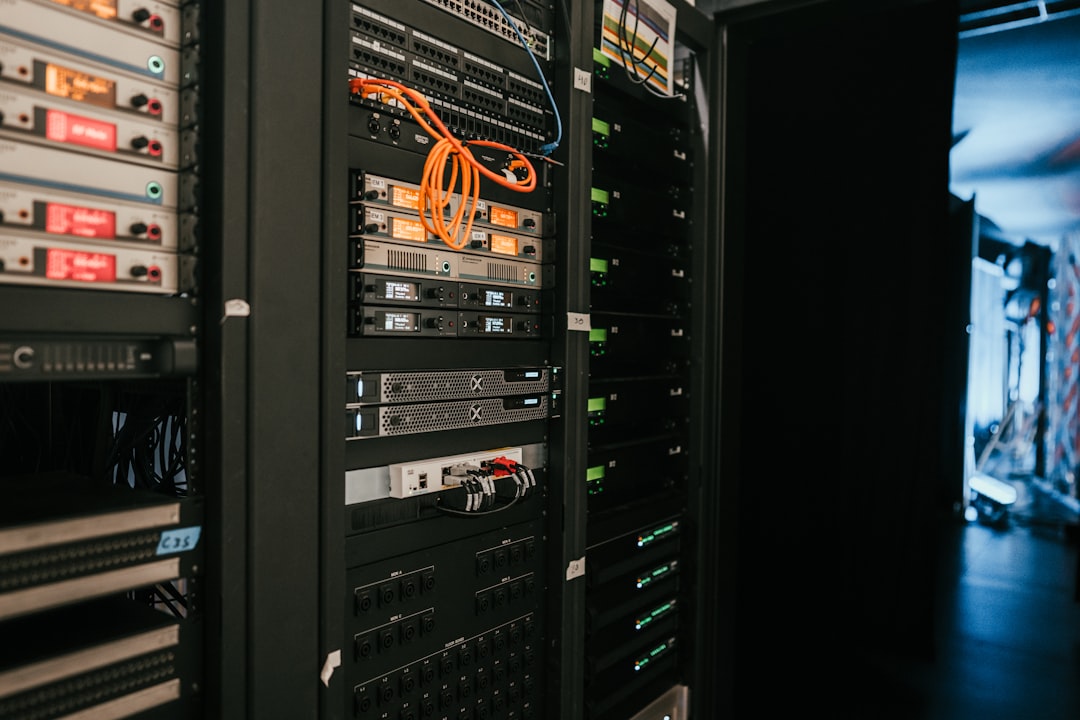
Airtable lot number traceability for medical device assembly: technicians in a cleanroom. Photo by Glsun Mall on Unsplash
This guide shows a practical pattern: a JavaScript-powered Airtable button that (1) deducts inventory from the correct lot(s), (2) attaches those lot numbers to each finished device record, and (3) generates a QR-code audit trail for compliance paperwork.
What “lot traceability” actually needs (and why most Airtable bases fail)
Lot traceability isn’t just “store a lot number somewhere.” In regulated manufacturing, you typically need to answer these questions quickly and consistently:
Which component lots went into this finished device?
Who built it, when, and on which production line?
If a supplier lot is recalled, which finished serial numbers are impacted?
If inventory was adjusted (scrap, rework, returns), what changed and why?
Many Airtable bases break down because the withdrawal event isn’t modeled. People update a quantity field and type a lot number into a notes column. That works until you have:
multiple production lines pulling the same component at the same time
multi-lot draws (e.g., you used the end of one lot and the start of another)
scrap and partial usage
audits that require a clean, readable chain of evidence
A base structure that supports medical device lot traceability
A clean structure usually looks like this:
1) Lots table (the source of truth)
Each record represents a received lot of a single component (or raw material).
Component (linked)
Lot number
Supplier
Received date
Warehouse/location
Quantity received
Quantity available (computed)
Status (available / quarantined / consumed)
2) Device builds table (the “event ledger”)
Each record represents one finished device (or one build batch), created at build time.
Device model / configuration
Serial number (or batch ID)
Production line
Built by
Build timestamp
3) Build components table (the junction table)
This is where traceability becomes real: one row per component lot used in a build.
Link to Device build
Link to Component
Link to Lot
Quantity used
Scrap quantity (optional)
Notes / reason codes (optional)
The key idea: you don’t “edit inventory.” You record a build event, and inventory is deducted from the lot(s) used in that event.
The “magic button” pattern: one controlled action that writes the audit trail
In Airtable, the risky moment is when someone finishes a build and needs the system to:
select the correct lot(s) for each component
deduct quantities (including scrap)
create Build components rows that permanently attach lot numbers to the build
A common solution is a button field on the Device builds table that runs a script through Airtable’s Scripting extension (as of October 2026 — check Airtable’s scripting docs for current behavior).
What the button should do
At a high level, the script should:
Validate the build is complete (required fields present)
Lock the build (or mark it as finalized)
For each component in the bill of materials:
choose lots using FIFO/FEFO rules (your choice)
handle multi-lot draws when one lot can’t satisfy the required quantity
write one Build components row per lot used
update the Lot record(s) to reflect the deduction
Write a summary log (who ran it, when, what changed)
Add idempotency: prevent double-withdrawals
In the real world, people double-click, and two people can try to finalize the same build. A good compliance-friendly pattern is to make the button idempotent:
Store a “Finalized” checkbox or “Build status” field.
On button run:
if the build is already finalized, exit without making changes
otherwise, run deductions and then mark finalized
That one safeguard prevents the worst failure mode: withdrawing the same inventory twice.
QR-code audit trail: make verification easy without opening Airtable
If manufacturing or QA needs a fast way to verify what’s inside a device, generate a QR code that resolves to a human-readable “build report.”
Options:
A shared web view (preferred) that renders the build + lots used
A PDF report generated on-demand
A simple internal page that lists part numbers, quantities, and lot numbers
The point isn’t novelty. It’s speed during compliance paperwork and internal checks.
ROI: why this approach can replace (or delay) an ERP
If you’re early-stage, an ERP implementation can be expensive and slow. A well-designed Airtable traceability system can buy you time by delivering:
fewer manual errors vs handwritten logs or spreadsheets
meaningful labor savings by automating the “close out a build” step
It’s not the right fit for every scale, but it can be a strong bridge solution for a regulated startup. We cover more patterns like this on our inventory management and healthcare automation pages.
Implementation checklist (so you don’t paint yourself into a corner)
Model build events as records (don’t treat inventory like a single editable number)
Use a junction table to attach lots to builds
Enforce required fields before allowing a build to finalize
Make the finalization action idempotent
Log every deduction with timestamps and actor
Generate a quick verification view (QR-code report)
Get help building your traceability base
Lot traceability in Airtable only holds up under audit when the lots table, the build ledger, and the finalization script are designed together. If you’re setting this up for a medical device line, or fixing a base that already double-counts inventory, book a free call with Connex. We’ll map your lots, builds, and bill of materials and help you build the script with your team.
Automate monthly Salesforce exports from S3 + Google Sheets: pull daily files from S3, calculate member status in Sheets, and generate a weekly CSV in Drive.